Certainly! Changing MX (Mail Exchange) records and configuring email routing in cPanel hosting involves a few steps. Here’s a step-by-step guide to help you through the process:
Table of Contents
Changing MX Records in cPanel
- Log in to cPanel:
- Go to your cPanel login page (usually something like
yourdomain.com/cpanel). - Enter your username and password to log in.
- Go to your cPanel login page (usually something like
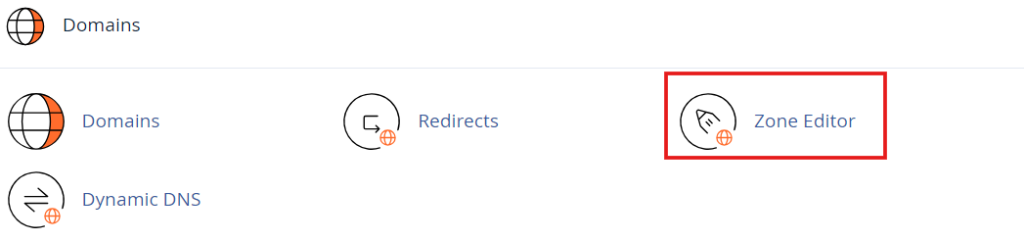
- Find the MX Entry Section:
- In the cPanel dashboard, look for the section called “Domain”.
- Click on “Zone Editor” or “DNS Zone Editor”. (The exact name might vary based on your cPanel theme.)
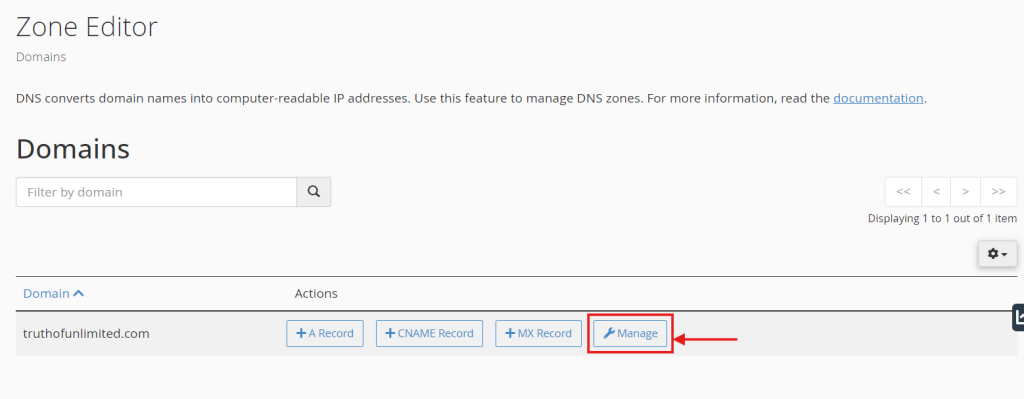
3.Select Your Domain:
- If you have multiple domains, you will need to select the domain for which you want to change the MX records.
- Click “Manage” or “Edit” next to the domain you want to modify.
4. Add/Edit MX Records:
1.Look for the MX records in the list of DNS records.
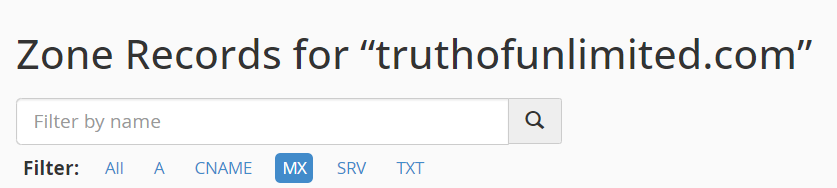
2.To edit an existing MX record, click “Edit” next to the record.

3.To add a new MX record, click “Add Record” or “Add MX Record”.

Configure the MX Record:
Priority: Enter the priority value. Lower values indicate higher priority (e.g., 10, 20).
Destination: Enter the mail server’s hostname or IP address which is provided by your hosting provider (e.g., mail.yourdomain.com).
TTL (Time To Live): You can usually leave this at the default value or set it as desired (e.g., 14400 seconds).
Save Changes:
- After adding or editing the MX records, make sure to save your changes.
Monitor Propagation
- Understand DNS Propagation: DNS changes, including MX record updates, may take some time to propagate across the internet. This propagation period can vary from a few minutes to 24 hours.
- Check Functionality: After waiting for propagation, test your email functionality to ensure that emails are being routed correctly. Send test emails to and from your domain to verify proper delivery.
Additional Considerations
- Backup Existing Records: Before making changes, it’s wise to back up your current DNS settings. This way, you can restore the previous configuration if needed.
- Consult Documentation: Refer to your email service provider’s documentation for specific requirements regarding MX records if you are using a third-party email service.
- Contact Support: If you encounter issues or are unsure about the changes, don’t hesitate to contact your hosting provider’s support team for assistance.
Changing MX records in cPanel is a straightforward process, but careful attention to detail is essential to ensure that your email routing functions correctly. By following these steps, you can effectively manage your domain’s email settings and ensure proper delivery of emails.